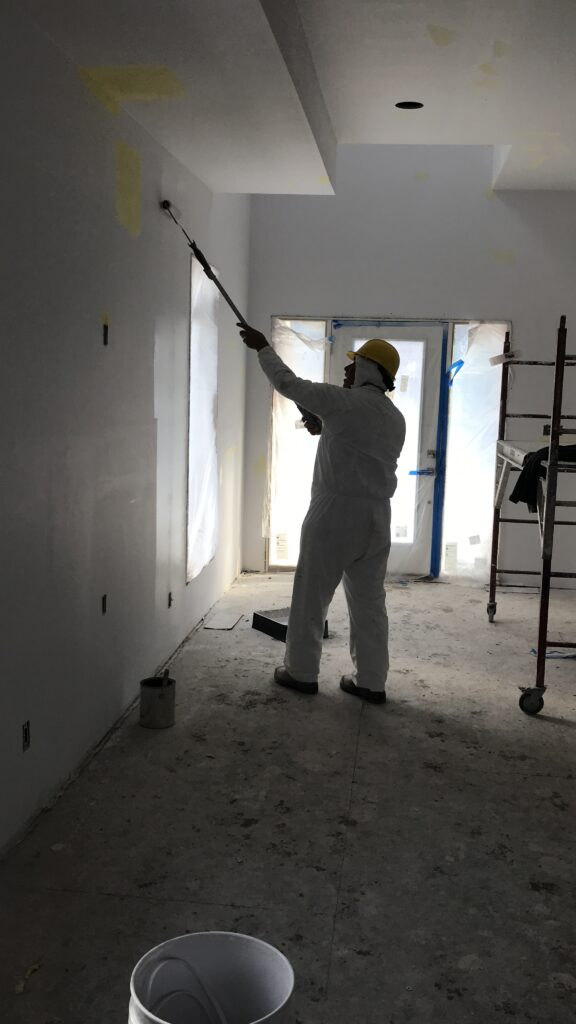
13 Oct Why Is Prepping Before Painting Important?
 It’s every amateur painter’s worst nightmare: forgetting the prep work. Can you imagine going through all the work of painting, only to find that your lack of preparation has made the walls uneven and blotchy? After all the time and money that you invest in painting, you want walls that stay smooth for years. Taking the time to prepare a surface pays off in the end; here’s what to do and why:
Use painter’s tape. You don’t want to paint everything in the room – a roll of bright green painter’s tape will help you protect the walls, windows, and trim from paint splatters. To save your floor from damage, spread out some drop cloths. Move all your furniture to the centre of the room so that you have easy access to the walls.
Clean the walls. How often do you wash your walls? It probably isn’t at the top of your cleaning list. Any dust, mould, or oil lingering on your walls will prevent the paint from adhering properly. Using hot water and a sponge, remove anything that stands in the way between you and a flawless paint job. Mildew and grease will require a cleaning solution for proper removal.
Remove the old paint. Painting on top of paint can be a recipe for disaster – or at least, give you a subpar finish. Paint that’s flaking and chipping can be scraped off with a sharp tool. If you’re repainting an old house, take caution here: lead paint may have been used. You need to wear goggles and a breathing mask to protect yourself from the dust.
Fill any gaps. Those minor imperfections will become more obvious if you don’t patch them before you paint. Repair any cracks or holes in the drywall with the appropriate compound before moving on to the next step, and you’ll thank yourself for it later.
Sand it. Roughing up the surface will make sure that the paint takes to it; it also evens out any imperfections so that the paint adheres evenly. Get rid of any lumps and bumps with a sheet of gritty sandpaper. This process tends to kick up a lot of dust, so wear a mask and clean the walls afterward.
Apply a primer. This step will extend the longevity of your paint job – it gives a smooth surface for the paint to lock on to. But you can’t use just any primer. Pick the right primer for your paint and surface. When you use an oil-based paint, make sure to use an oil-based primer, or you’ll have binding issues. If you’re transitioning from a dark wall to a light one, a tinted primer can help smooth the change and speed up the process.
We all wish that painting was as easy as breaking out a bucket and roller, and then getting to work. You see the walls of your home every day, so why not call an expert to make them perfect? For a high-quality paint job that lasts, contact the professional Winnipeg painters at Pinnacle. Part of our process is preparing the surface thoroughly to ensure the best results – we remove loose paint, fill in gaps, patch any holes, and prime the surface with sandpaper. We have experience with residential and commercial paint jobs and we’re confident that we can deliver a durable and seamless finish for you.
